Help › Mobile app
Mobile app overview
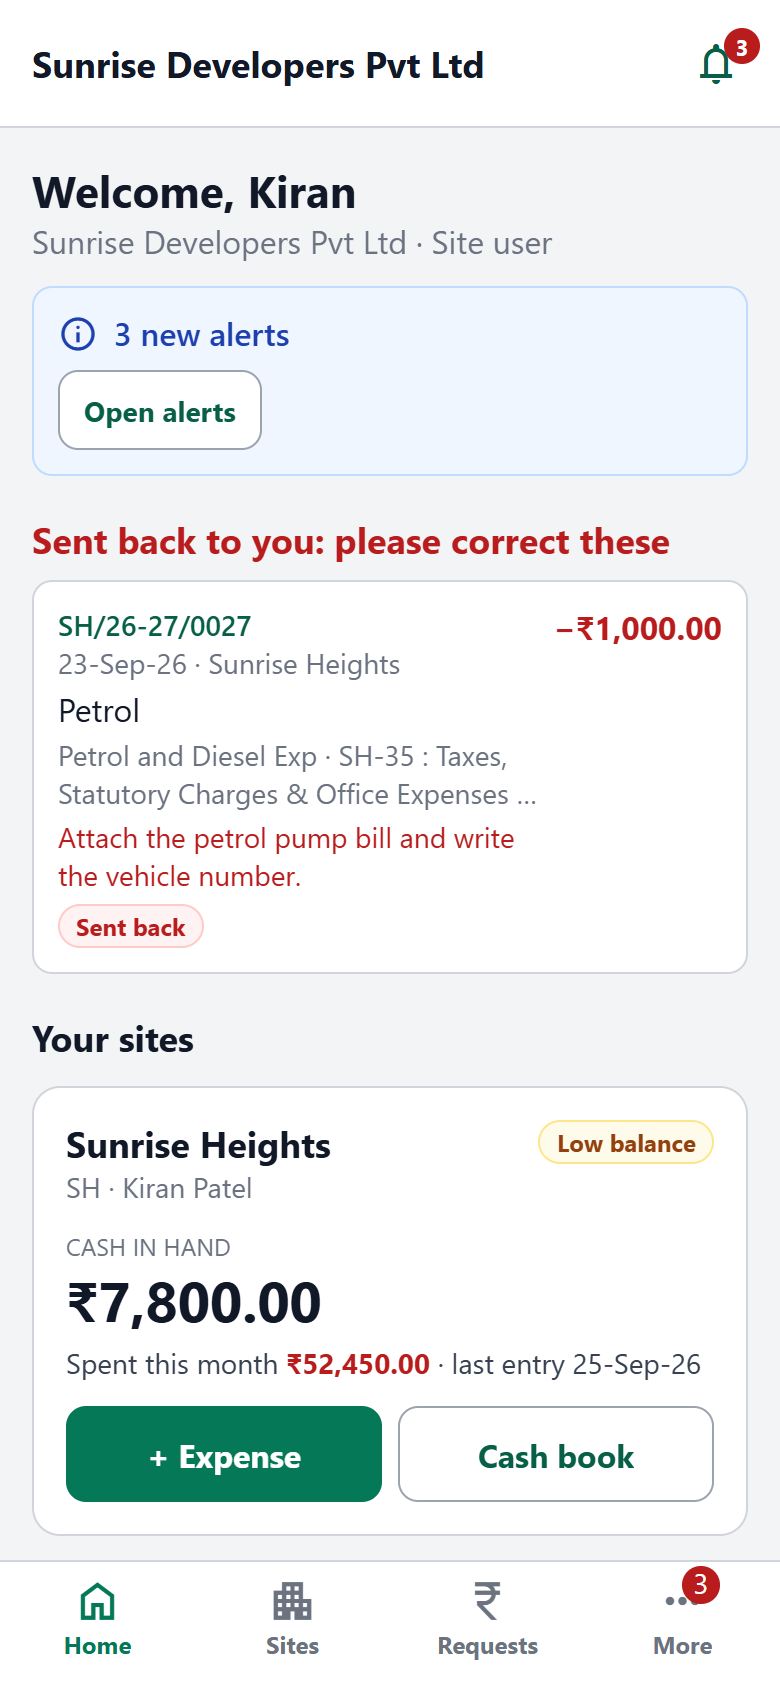
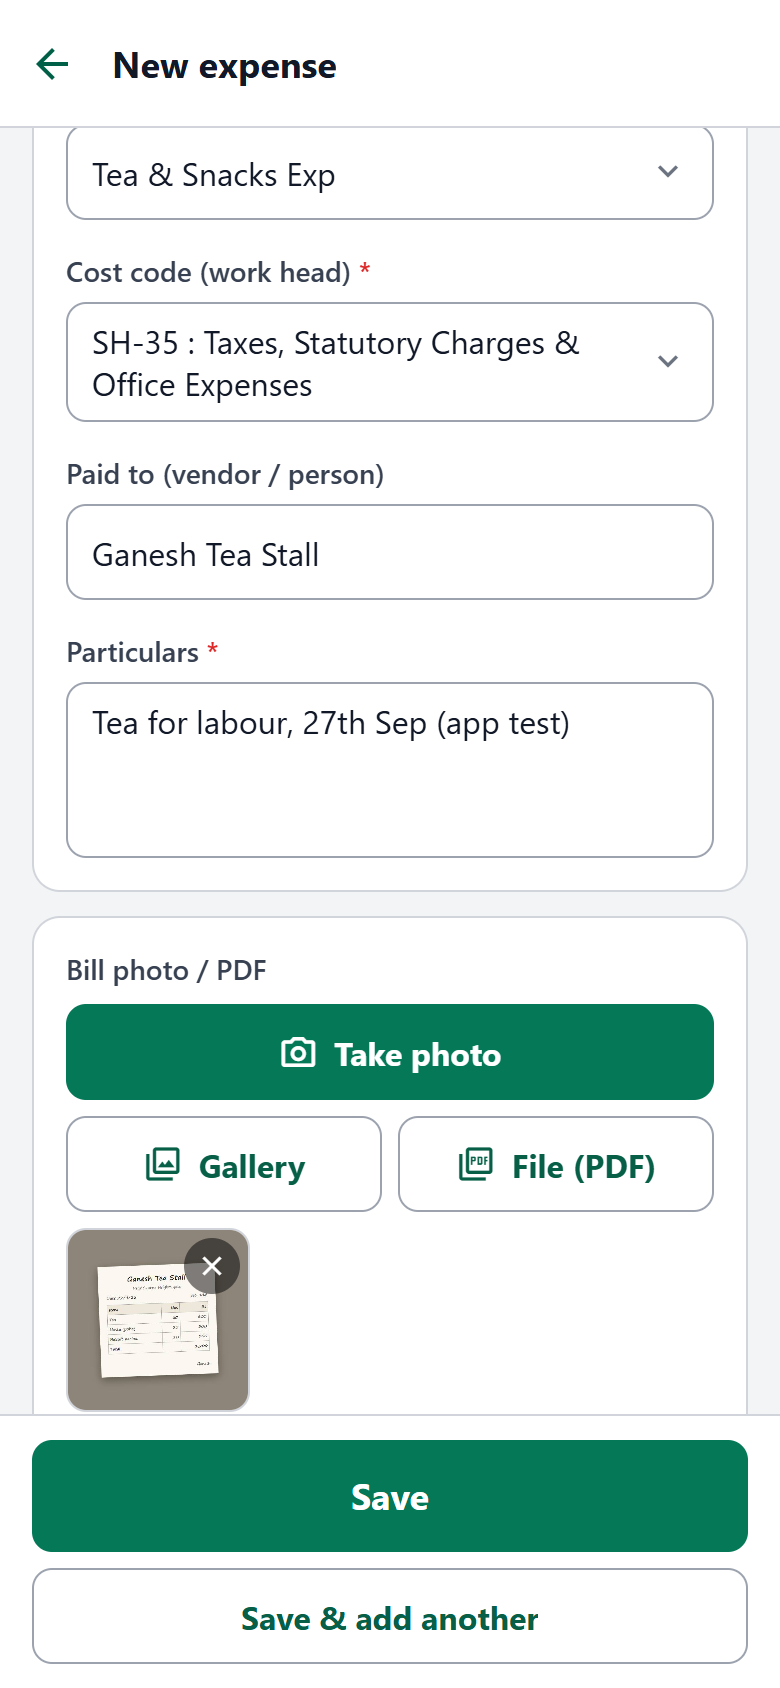
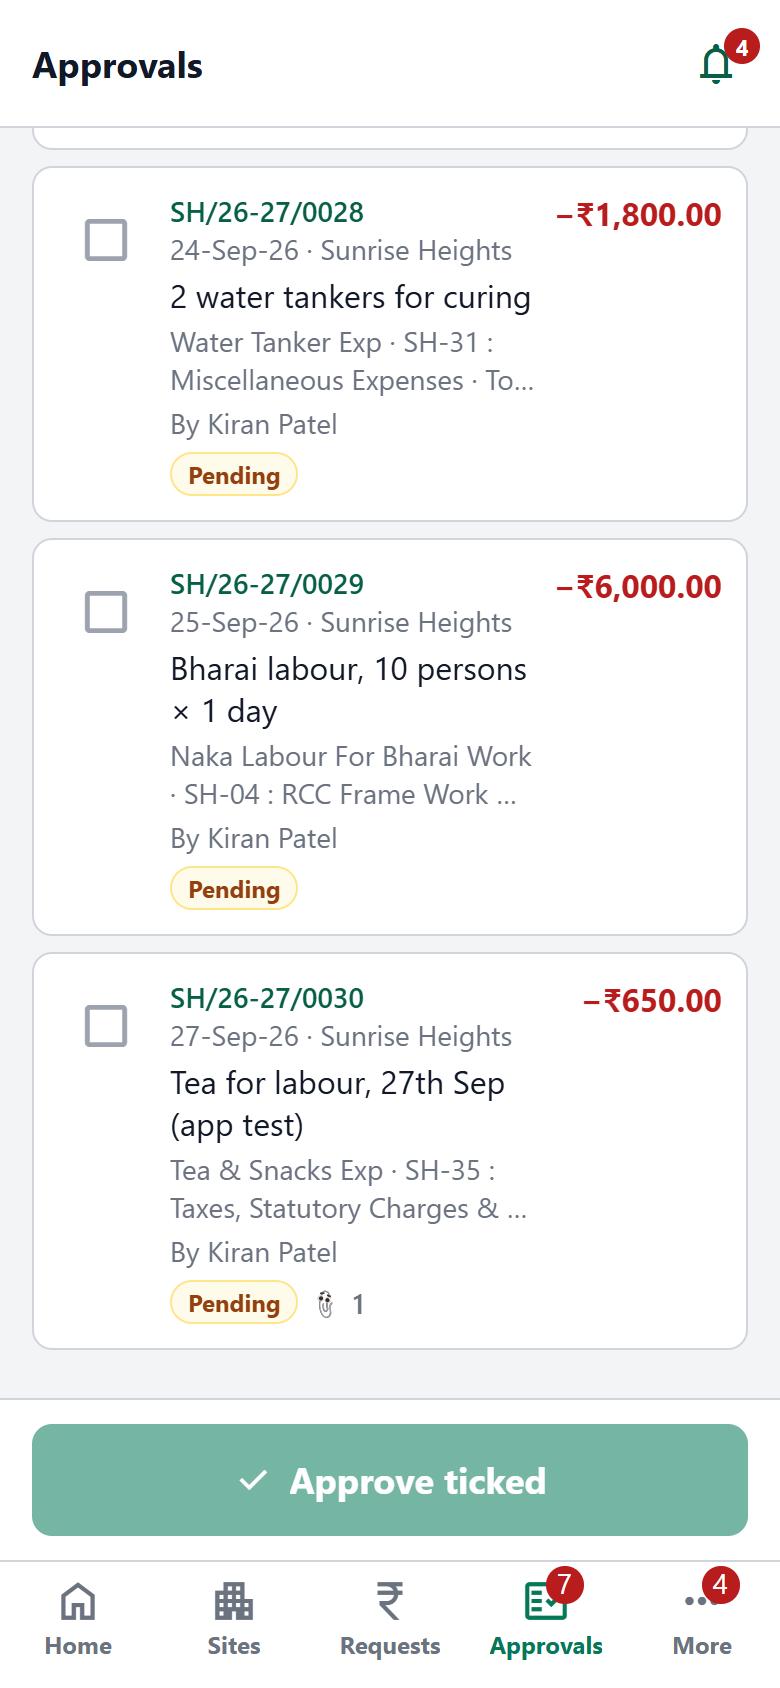
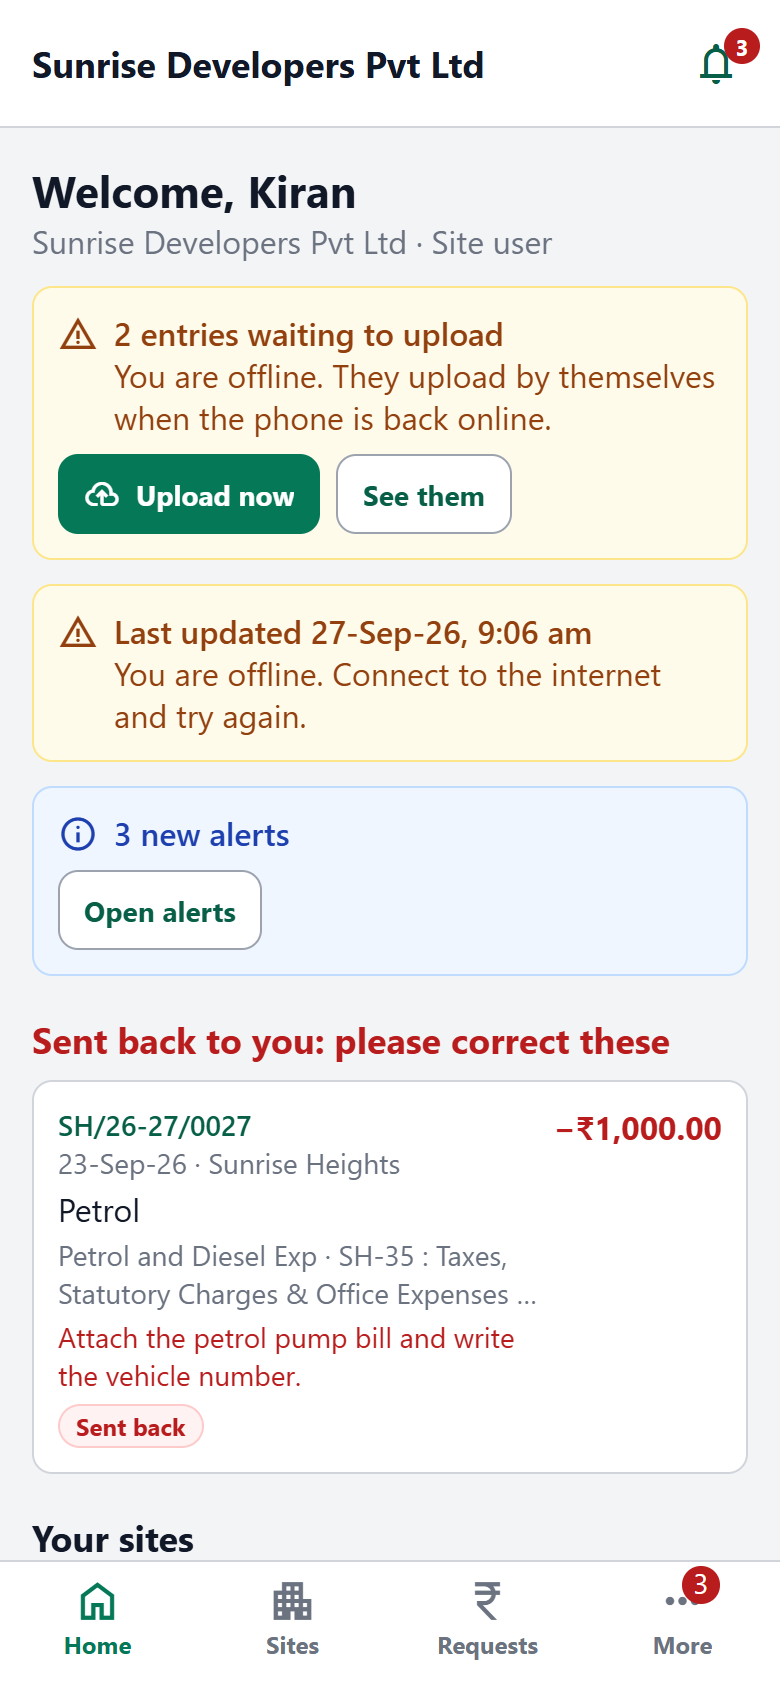
SiteCash has an app for Android and iPhone, built with Expo (React Native). Site staff record expenses with bill photos — even offline — and approvers decide from their phone. This page explains how the pieces fit and which guide to follow.
Which guide do I need?
How it fits together
The app lives in the mobile/ folder of the SiteCash code. It has no database of its own: it signs in to the SiteCash server and uses the same data and rules as the website.
| Part | Where it runs | Set up in |
|---|---|---|
SiteCash server (website + app API /api/mobile/v1) | Your PC while developing; your live server (https) for store apps | Dev setup §3, Release §1 |
App builds (Android .apk/.aab, iPhone .ipa) | Expo Application Services (EAS) in the cloud — no Mac or Android Studio needed | Dev setup §7–8, Release §4 |
| Push notifications | Server → Expo push service → Google (Firebase) / Apple | Dev setup §9, Release §3 |
| Store listings | Google Play Console, App Store Connect | Release §7–8 |
Already set up: Expo project @dbarmai/sitecash, Firebase project sitecash-pettycash (mobile/google-services.json), app id com.sitecash.app.
Build types
Set up in mobile/eas.json. Build with eas build -p android|ios|all --profile <type> in the mobile/ folder.
| Type | What you get | Server it uses | Use it for |
|---|---|---|---|
development | Your app with developer tools; loads the code from your PC | Your PC (mobile/.env.local) | Daily development, testing notifications |
preview | Android APK installed from a link; iPhone build for registered phones | Live https server (Expo "preview" setting) | Team testing before a store release |
production | Play Store bundle (.aab), App Store build (.ipa); build numbers go up by themselves | Live https server (Expo "production" setting) | Publishing |
Test checklist before a release
Go through this on at least one Android phone and one iPhone with a preview or TestFlight build, logged in to the live server with the demo company:
- Log in as a site user: Home shows only their sites and the "Sent back to you" list.
- Add an expense with a camera photo (Take photo): the voucher number appears and the photo opens.
- Turn on flight mode, add another expense: "Saved on this phone". Turn it off: it uploads once and appears in the cash book.
- Request cash; as an accountant on another phone, the notification arrives and opens the request; approve it.
- As the site user: the "approved" notification arrives; Record cash received; the request shows Cash received.
- As the accountant, send an entry back; the site user is notified, corrects it, and it waits for approval again.
- More → Help, Privacy policy and Delete my account open the web pages; Log out works.